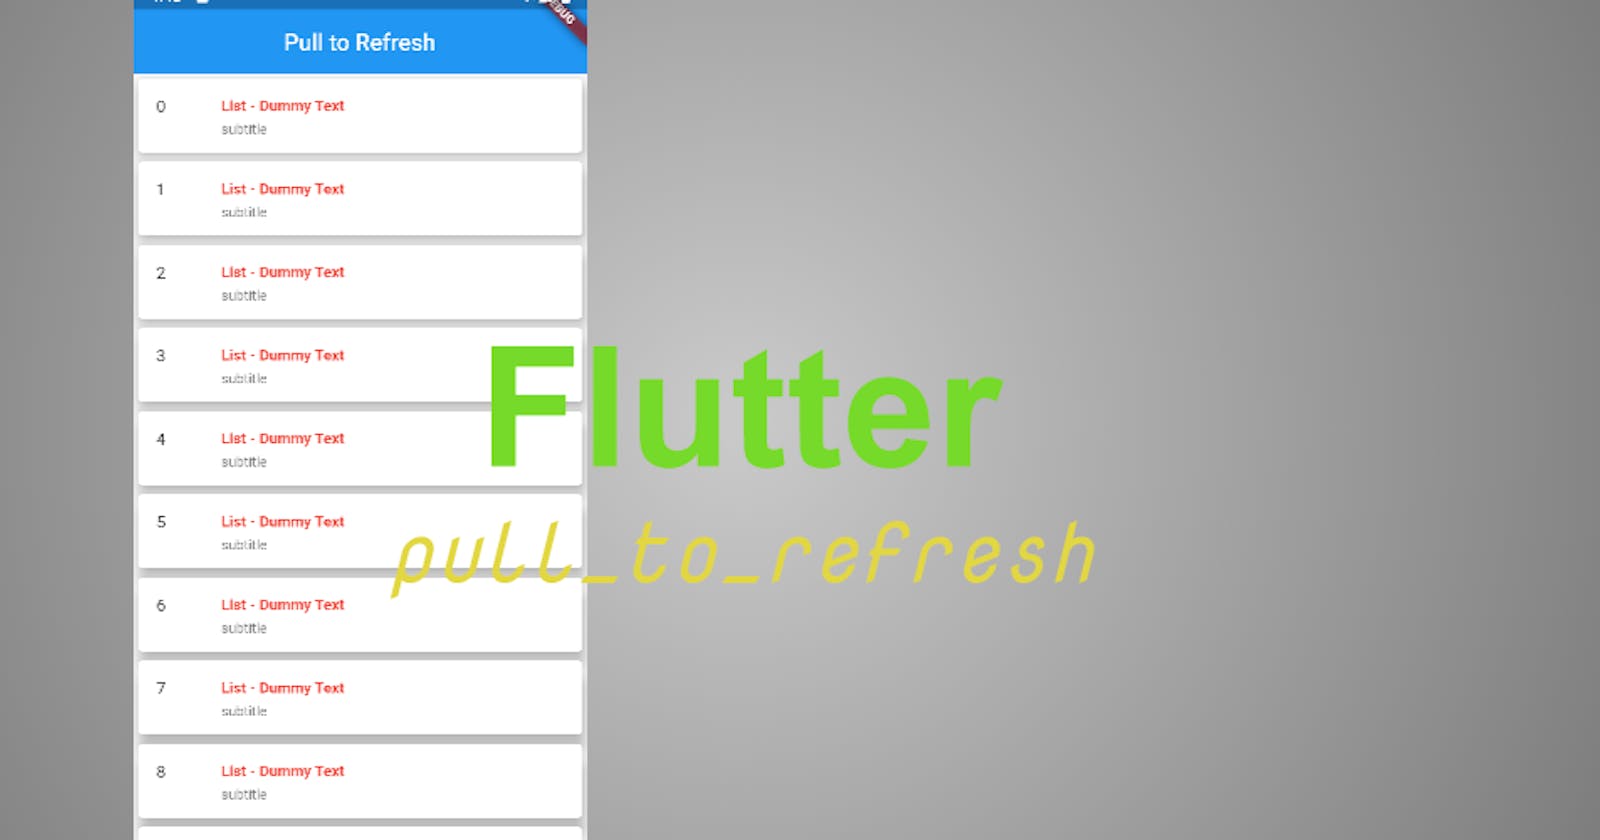


Today we’ll explore how easy to implement pull to refresh in a flutter application using pull_to_refresh package and make use of listview.builder.
So let dive into our flutter project. First, we add the pull_to_refresh package to our project Inside pubspec.yaml file
dependencies: pull_to_refresh: ^1.5.8
For me 99% of the package I use in my flutter app, I don’t put version code, I prefer it this way
dependencies: pull_to_refresh:
There’s a difference between these two examples, which I will talk about later, Follow me to get updates
So we have our main. dart file
import 'package:flutter/material.dart';
import 'refresh.dart'; // we'll create another file for the page called refresh.dart

void main() => runApp(MyApp());

class MyApp extends StatelessWidget {
  const MyApp({Key key}) : super(key: key);

  @override
  Widget build(BuildContext context) {
    return MaterialApp(
      title: 'Flutter Refresh',
      darkTheme: ThemeData.dark(),
      home: RefreshPage(),
    );
  }
}
Then create another file call it refresh.dart, Here we’ll implement pull_to_refresh dependency.
import 'dart:async';

import 'package:flutter/material.dart';
import 'package:flutter_pull_to_refresh/customFunc.dart';
import 'package:pull_to_refresh/pull_to_refresh.dart';
import 'nextpage.dart';

class RefreshPage extends StatefulWidget {
  @override
  _RefreshPageState createState() => _RefreshPageState();
}

class _RefreshPageState extends State<RefreshPage> {
  bool _enablePullDown = true; // this enable our app to able to pull down
  RefreshController _refreshController; // the refresh controller
  var _scaffoldKey =
      GlobalKey<ScaffoldState>(); // this is our key to the scaffold widget
  @override
  void initState() {
    _refreshController =
        RefreshController(); // we have to use initState because this part of the app have to restart
    super.initState();
  }

  @override
  Widget build(BuildContext context) {
    return Scaffold(
      key: _scaffoldKey, // the key we create up there
      appBar: AppBar(
        title: Text('Pull to Refresh'),
        centerTitle: true,
        elevation: 0,
      ),
// So inside the body widget we will implement pull to refresh, So first we call
      body: SmartRefresher(
        enablePullDown:
            _enablePullDown, // the bool we create, so this gave access to be able to pull the app down
        header: WaterDropHeader(
          waterDropColor: Colors.teal,
// complete: If the refresh is completed show this else failed
          complete: Text('Complete',
              style: TextStyle(
                  color: Colors.teal,
                  fontSize: 18,
                  fontWeight: FontWeight
                      .bold)), // you can customize this whatever you like
          failed:
              Text('Failed', style: TextStyle(color: Colors.red, fontSize: 18)),
        ),
        controller: _refreshController,
        onRefresh:
            _onRefresh, // we are going to inplement _onRefresh and _onLoading below our build method
        onLoading: _onLoading,
        child:
            txtlist(), // we are going to create a list of text in this dynamic ii()
      ),
    );
  }

  txtlist() {
    return ListView.builder(
      itemCount: 20,
      shrinkWrap: true,
      itemBuilder: (context, index) {
        return Card(
          elevation: 10,
          child: ListTile(
            dense: true,
            title: Text('List - Dummy Text',
                style:
                    TextStyle(color: Colors.red, fontWeight: FontWeight.bold)),
            leading: Text('$index'),
            subtitle: Text('subtitle'),
            trailing: IconButton(
              icon: Icon(Icons.arrow_forward),
              onPressed: () {
                Navigator.push(context,
                    MaterialPageRoute(builder: (context) => NextPage()));
              },
            ),
          ),
        );
      },
    );
  }
Format the code: right-click on your editor and click Format Document, to make your code more readable. So below the txtlist() {}, we’ll implement the _onLoading and _onRefresh Function.
 _onLoading() {
    _refreshController
        .loadComplete(); // after data returned,set the footer state to idle
  }

_onRefresh() {
 setState(() {
// so whatever you want to refresh it must be inside the setState
RefreshPage(); // if you want to refresh the whole page you can put the page name or
txtlist(); // if you only want to refresh the list you can place this, so the two can be inside setState
_refreshController.refreshCompleted(); // request complete,the header will enter complete state,
// resetFooterState : it will set the footer state from noData to idle
});
}
Refresh the page and try to pull the page down.
I want to quickly show you some trick with this refresh dependency For example: If your app requires internet access you will need this.
So inside our _onRefresh() function, we want to add connectivity to it. Connectivity: This dependency helps us to check if the phone has internet access or not, So if it has internet do this else do that.
Add these dependencies Inside pubspec.yaml file
dependencies:
- connectivity: ^0.4.8+2
- fluttertoast:
Let create another file, name it customFunc.dart or whatever name you want
First, we import our packages
import 'package:flutter/material.dart';
import 'package:fluttertoast/fluttertoast.dart';
import 'package:connectivity/connectivity.dart';
Then create a class call it CustomFunction class CustomFunction {}
let’s call the connectivity result, inside our CustomFunction now
Future<int> checkInternetConnection() async {
var result = await Connectivity().checkConnectivity();
if (result == ConnectivityResult.none) {
return 0;
} else if (result == ConnectivityResult.mobile) {
return 1;
} else if (result == ConnectivityResult.wifi) {
return 1;
} else {
return 0;
}} // this will check though the phone internet access and see if the phone has access to the internet or not</span>
full custom function code:
import 'package:flutter/material.dart';
import 'package:fluttertoast/fluttertoast.dart';
import 'package:connectivity/connectivity.dart';


class CustomFunction{
showToast({String message}) {
Fluttertoast.showToast(
msg: message,
toastLength: Toast.LENGTH_SHORT,
gravity: ToastGravity.CENTER,
timeInSecForIos: 1,
backgroundColor: Colors.redAccent,
textColor: Colors.white,
fontSize: 20.0);
}
Future<int> checkInternetConnection() async {
var result = await Connectivity().checkConnectivity();
if (result == ConnectivityResult.none) {
return 0;
} else if (result == ConnectivityResult.mobile) {
return 1;
} else if (result == ConnectivityResult.wifi) {
return 1;
} else {
return 0;
}}
}
we are done with this, let go back to the refresh file, the _onRefresh() we have to change it to check the internet access Delete the previous code and paste this and make sure to import customFunc.dart into the refresh page as well.
_onRefresh() {
setState(() {
Future<int> a = CustomFunction().checkInternetConnection(); // check internet access
a.then((value) {
if (value == 0) {
CustomFunction().showToast(message: ‘No Internet Connection’); // will show a toast if there is no internet
} else {
RefreshPage();// if you want to refresh the whole page you can put the page name or
txtlist();// if you only want to refresh the list you can place this, so the two can be inside setState
_refreshController.refreshCompleted();
// request complete,the header will enter complete state,
// resetFooterState : it will set the footer state from noData to idle
}
});
});
}

And we are good to go Restart your app or hot restart your app, you might need to do this several times to take effect on the app then pull the body down like you want to refresh the page and boom our app is refreshed.
Source
Package used:
🔗 Social Media / Let's Connect 🔗 ==> Github | Twitter | Youtube | WhatsApp | LinkedIn | Patreon | Facebook.
Join the Flutter Dev Community 👨💻👨💻 ==> Facebook | Telegram | WhatsApp | Signal.
Subscribe to my Telegram channel | Youtube channel | and also to hashnode newsletter in the input box above 👆👆. Thanks
Happy Fluttering 🥰👨💻